Here is how to use an ice roller for face care at home: fill the mold with water, freeze it until solid, then glide the ice over clean skin with light pressure, keeping it moving the whole time. A common rule of thumb is a few minutes for the whole face. Pat your skin dry, then wash the mold and let it dry before you refill it.
One honest note first. An ice roller is a neat way to put something cold on your skin, and many people simply like how that feels, especially in the morning or on a hot day. We sell one, but we make no skin-treatment claims for it. How skin looks or feels afterward varies from person to person and doesn’t last.
What is an ice roller, and what does it do?
An ice roller is a holder for cold. There are two common kinds:
- Fill-and-freeze molds. A silicone body you fill with water and freeze. The body becomes the handle, and the rounded block of ice is what touches your skin. Our silicone ice roller for face is this kind.
- Roller-head tools. A wheel or drum on a handle that lives in the freezer. The cold surface is metal or a sealed, gel-filled head, so there is no meltwater.
Either way, what it does is simple: it cools the surface of the skin for a short time. People describe that as refreshing or as a way to feel more awake. Beyond that feeling, we won’t promise anything, and you should be wary of any tool that does.
How to fill and freeze an ice roller
For a mold-type roller, filling is most of the work. The Regpre mold has an enlarged opening at the top so you can pour straight from a cup or a slow tap, and a cap that locks on with a thick seal to help keep the water in while it freezes.
- Start clean. Wash the mold and cap with dish soap, rinse and dry.
- Fill to just short of full. Water expands as it turns to ice, so a little headroom keeps the cap from being pushed up.
- Seal it. Press the cap on all the way around, then wipe off any drips on the outside.
- Freeze until solid. Freezers differ, so no exact time applies to every kitchen. Overnight is the easy rule of thumb. Stand it upright for the first freeze so you can see whether your cap is fully seated.
The mold is about 4.25 x 2.36 x 1.57 in (10.8 x 6 x 4 cm), so it takes up roughly the space of a small ice pop in a freezer door or drawer.
Ice roller ideas: what can you freeze in it?
Plain water is the simple choice and all you need. Some people freeze cooled green tea, cucumber water or water with a few rose petals for the look and the light scent. If you try that, keep it to things you’d already be comfortable having on your skin, skip anything sugary, sticky or oily, and wash the mold right after so nothing dries inside. Freezing something in ice doesn’t turn it into a skin treatment.
How to use an ice roller for face, step by step
- Wash your face and hands. Roll over clean skin so you aren’t pushing makeup or sunscreen around with the ice.
- Uncover the ice and let the surface turn wet. Ice straight from the freezer is dry and very cold, and it can stick to skin for a moment. Wait a minute or pass it under the tap first. The flexible silicone lets the frozen block release easily.
- Hold it by the silicone body. The textured grip is there because the outside gets wet as the ice melts.
- Glide, don’t press. Let the ice rest on the skin with about the weight of the roller, and move it in slow, steady strokes.
- Keep moving. Pass over each area once or twice and move on. Never hold ice still on one spot.
- Finish and dry. Blot the meltwater with a clean towel.
Which direction should you roll?
There is no proven correct direction. A common habit is to start near the center of the face and stroke outward: from the nose across the cheeks, from the middle of the forehead toward the temples, and along the jaw toward the ears. The real value of a set pattern is practical. It makes sure you cover each area briefly and don’t keep going back over the same patch.
How long should you use it?
Short sessions. A common rule of thumb is a few minutes for the whole face, with only a few seconds on any one area before you move on. If you are new to it, start with less and see how your skin reacts over the next hour. Stop right away if your skin goes numb, stings, burns or turns painfully red. A light, even flush that fades quickly is a normal response to cold; pain or blotchy patches are not.
When does it go in your routine?
After cleansing, before everything else, is the simplest place. Meltwater will thin out or wipe away anything already on your skin, so let your products go on afterward, once your face is patted dry. If you roll before makeup, give your skin a few minutes to return to room temperature and dry completely first. Morning or evening is a matter of preference.
How to use an ice roller under the eyes
People often ask how to use an ice roller for dark circles or under the eyes. Here is the plain answer: cold on the eye area feels refreshing to many people, and any change in how the area looks is temporary and differs from person to person. Dark circles have many causes, and we don’t claim a block of ice changes them.
If you want to use it there, be extra gentle. The skin is thin, so use the lightest touch, make one or two short passes along the bone below the eye, and stay off the eyelid and away from the lash line. Keep your eyes closed, and blot drips so meltwater doesn’t run into them. Remove contact lenses first if drips bother you.
See a dermatologist before using ice on your face if you have rosacea, visible broken capillaries, cold sensitivity or cold urticaria, reduced feeling in your skin, or a recent facial procedure, peel or injury. The same goes for any skin or eye-area concern that doesn’t go away; an ice roller isn’t the tool for that.
Ice roller vs ice cubes vs gua sha vs an ice bath
These are four different tools for different habits. The table compares what each one is and how much work it takes, not what it does for skin.
| Method | What it is | Prep | Mess | Cleaning |
|---|---|---|---|---|
| Mold-type ice roller | Silicone holder with a block of ice you freeze yourself | Fill, cap, freeze until solid | Some meltwater; your fingers stay on the grip | Wash and dry the mold after use |
| Roller-head tool | Metal or gel-filled wheel on a handle | Keep it in the freezer | Little; light condensation | Wipe or wash the head, dry, return to freezer |
| Loose ice cube | Ordinary ice, usually wrapped in a thin cloth | None if you have ice | Drips, cold fingers, slippery to hold | Launder the cloth |
| Bowl of ice water (ice bath for the face) | A basin of water and ice you dip your face into | Fill a clean bowl each time | Splashes; needs a sink or towel | Wash the bowl |
| Gua sha tool | Flat, shaped stone or steel tool for gliding strokes, normally used with a face oil | None; some people chill it | Oil on skin and tool | Wash off the oil and dry |
The practical difference between an ice roller and ice cubes is the handle: a holder gives you a grip and a larger, rounder surface, while a bare cube melts in your fingers. Gua sha is not really a cold tool at all. It is about slow strokes with a slip of oil, so the two aren’t substitutes for each other.
How to make an ice roller for your face
A fill-and-freeze mold is already the do-it-yourself version: you make the ice. Without a mold, the usual stand-in is an ice cube wrapped in a thin, clean cloth so you have a barrier and something to hold. A chilled metal spoon is another kitchen-drawer option. The same rules apply: light touch, keep it moving, keep it short.
How to clean an ice roller for face use
Anything that touches your face and then sits wet should be washed. After each session:
- Let the leftover ice melt in the sink, or cap the mold and refreeze it if you plan to use the same block again soon. Starting with fresh ice each time is the cleaner habit.
- Wash the mold and cap inside and out with warm water and dish soap, paying attention to the groove where the cap seals.
- Rinse until no soap is left.
- Air dry with the opening facing down or sideways, then refill.
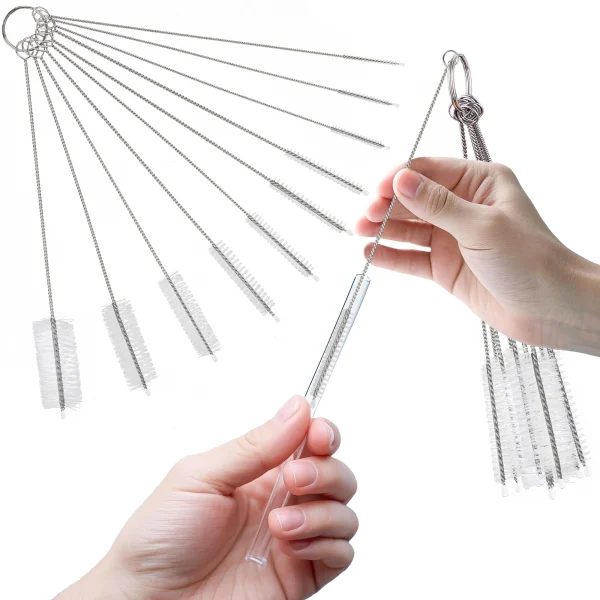
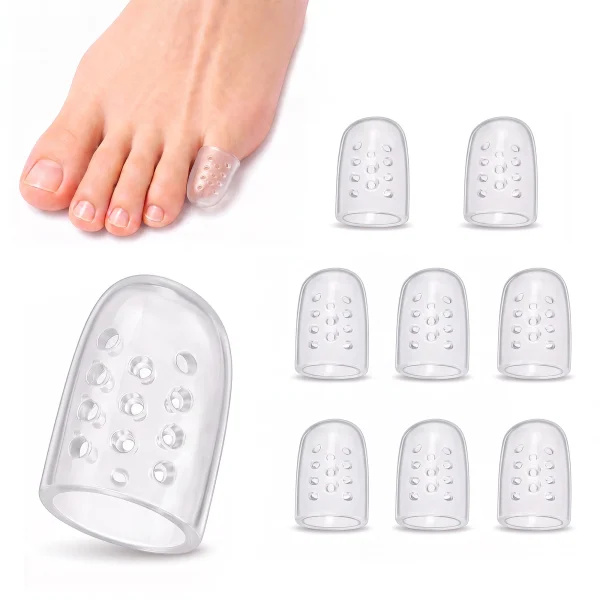
If you froze tea or anything other than water, wash straight away so it doesn’t leave a film. The habits are the same ones that keep other reusable items fresh, as covered in our guide to cleaning reusable straws: soap, a full rinse and complete drying. Keep one roller per person rather than sharing, the same advice we give for other silicone personal items such as gel toe caps.
How to store it
Most people keep the mold filled, capped and frozen so it is ready to use. If you won’t use it for a while, empty it, wash it and store it dry with the cap off. In the freezer, keep it upright or in a door shelf, away from uncovered food so the ice doesn’t pick up smells.
How to choose an ice roller for your face
There is no single right pick; it depends on how you’ll use it. Things worth checking:
- Mold or roller head. A mold gives you real ice and meltwater. A roller head is drier but is only as cold as your freezer made it and warms as you go.
- A cap that seals. For molds, a locking cap matters while the water is still liquid in the freezer.
- An opening you can fill easily. A wide inlet saves spills.
- Grip. The outside will be wet. A textured surface helps.
- Size and weight. Smaller, lighter tools are easier to steer around the nose and under the eyes. The Regpre mold weighs 71.8 g empty.
- Material. Flexible silicone lets the ice release from the mold without a fight. The Regpre mold’s silicone is described as food grade.
The package for the Regpre reusable ice mold roller contains one mold. For other small daily-use items, browse our home and everyday finds.
Step by step
- Wash the mold
Before the first fill, and between uses, wash the mold and cap with dish soap, rinse well and let them dry.
- Fill it, leaving a little space
Pour clean water through the top opening and stop just short of full, since water expands as it freezes.
- Close the cap and freeze until solid
Press the cap on firmly and set the mold in the freezer. Overnight is the easy rule of thumb.
- Take the chill edge off
Uncover the ice and wait a minute, or pass it under the tap, until the surface is wet and glides instead of sticking.
- Roll over clean skin
Glide the ice across your face with light pressure in slow strokes. Keep it moving and stay a few minutes at most in total.
- Pat dry and carry on
Blot the meltwater with a clean towel, then continue with your usual routine.
- Clean and store
Discard or refreeze the leftover ice as you prefer, wash the mold, dry it and refill it for next time.
Frequently asked questions
What are the benefits of an ice roller for face use?
The honest benefit is convenience: a handle and a smooth block of ice instead of a dripping cube in your fingers. Many people find the cold refreshing. We don't claim it treats or changes skin, and whatever you notice afterward is temporary and varies by person.
Can I use an ice roller every day?
There is no published limit for our mold, so let your skin decide. If it stays comfortable with short sessions, daily use is a common habit. Cut back or stop if you notice lasting redness, dryness or stinging, and ask a dermatologist if that continues.
Should I put anything on my skin before ice rolling?
You don't need to. Clean, bare skin is the simplest starting point, and a wet ice surface already glides. Products applied first tend to be diluted or wiped off by meltwater, so most people apply them afterward.
Why does the ice stick to my skin?
Ice that is very cold and dry can cling to damp skin for a moment. Let the block sit out for a minute or run it briefly under the tap until the surface is wet, and it will slide instead.
How long does an ice roller take to freeze?
It depends on your freezer's setting and how full it is, so we don't give an exact figure. Filling it in the evening and using it the next morning is the reliable routine.
Is an ice roller better than a gua sha?
They're different tools. An ice roller is about cold; a gua sha tool is about slow strokes over oiled skin and is usually used at room temperature. Choose by which routine you'd actually keep up, since we make no skin-result claims for either.
Can I use the same block of ice more than once?
You can cap the mold and refreeze it, but a fresh fill after washing is the cleaner habit because the ice has touched your skin. If you froze tea or another liquid, start fresh each time.
Who should not use an ice roller on the face?
Check with a dermatologist first if you have rosacea, broken capillaries, cold urticaria or other cold sensitivity, reduced skin sensation, or skin that is healing from a procedure or injury. Don't use ice on broken or irritated skin.