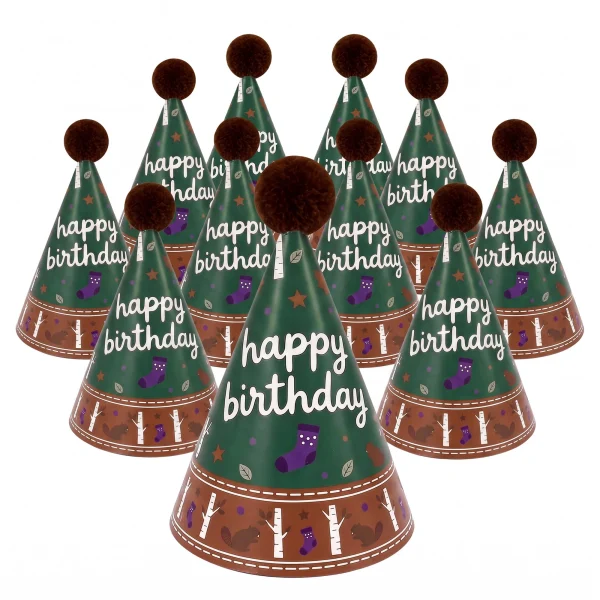
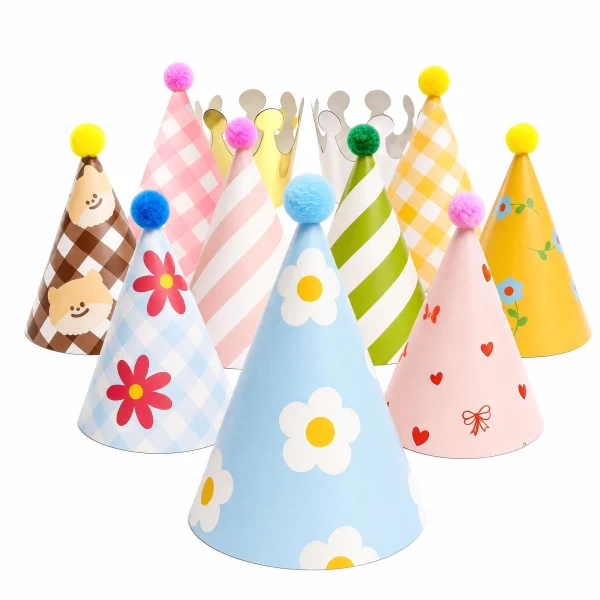
To assemble a flat-pack paper party hat, pre-curl the sheet, roll it into a cone, lock the tab in the slot, secure the seam, fit the elastic and press on the pom pom if your kit has one. Plan on about 3 minutes a hat, or 30–45 minutes for a 12-pack (a planning estimate, not a timed test), and build them the evening before.
Assembly comes with the territory: all six full-size paper cone sets in the table below ship flat. The exception is a mini set, covered under preassembled party hats below.
What’s in the box: sizes and steps by kit
INXENS paper cone hats come in two sizes: minis about 4.7–5.3 in (12–13.5 cm) tall and full-size cones about 7.87–8.4 in (20–21 cm) tall. “All steps” below means curl, roll and lock, secure, elastic and pom pom.
| Set | Height x base | In the pack | Your steps |
|---|---|---|---|
| Inxens Mini Birthday Hats, 9 cones + 2 crowns | 4.7 x 3.5 in (12 x 9 cm) | Tab-slot sheets, 9 pom poms, 11 elastic strings | All steps |
| Vesil Mini Party Hats, 9 cones + 2 crowns | 5.3 x 3.54 in (13.5 x 9 cm) | Flat sheets, pom poms, string | All steps |
| Olen Kids Party Hats, 11-Pack | 5.1 x 3.5 in (13 x 9 cm) | Adhesive dots, pom poms, 15.7 in (40 cm) straps | All steps |
| Vesil Mini Party Hats for Kids, 12 DIY Beaver | 5.1 x 3.5 in (13 x 9 cm) | 12 sheets, strings, pom poms, glue dots | All steps |
| Vesil Mini Party Hats for Stuffed Animals, 12 Pre-Assembled | 5 x 3.5–3.75 in (13 x 9–9.5 cm) | Shaped cones with strings, 12 pom poms, 12 glue dots | Pom pom only |
| Boieo Birthday Party Hats, 6 Pink + 6 Black | 7.87 x 5.39 in (20 x 13.7 cm) | Slotted sheets, elastic strings | All but pom pom |
| Boieo Gold Party Hats for Adults, 12 Pack | 7.87 x 5.39 in (20 x 13.7 cm) | Interlocking-tab sheets, 30 cm (11.8 in) elastic | All but pom pom |
| Azude Rainbow Birthday Party Hats, 12-Pack | 7.9 x 5.9 in (20 x 15 cm) | Laminated 250gsm sheets, elastic | All but pom pom |
| Beurio Pastel Birthday Hats for Kids, 12-Pack | 8.4 in (21 cm) tall | Sheets, glue dots, pom poms, elastic straps | All steps |
Sets without pom poms, such as the pink and black confetti party hats, skip the glue dot and pom pom, so each hat goes faster.
What you need besides the kit
Add four household items: a rolling pin or paper towel tube (a thick marker for minis), clear tape, scissors and a tray to stand finished hats on.
The tape reinforces strap holes and backs up seams, the scissors trim elastic tails, and a pencil tip re-opens a taped-over hole.
Step-by-step: how to assemble a paper party hat
Nine short steps turn a flat sheet into a finished hat, and the curl, roll and tab-lock steps decide whether the cone stands straight.
1. Sort into hat kits
Make one stack per hat: sheet, pom pom, strap and glue dot. A short count shows up before you start.
2. Pre-curl the sheet
Roll the sheet loosely around the tube, printed side out, hold a few seconds and release, so it rolls into a smooth cone instead of kinking. Heavier stock resists more: OKI Data Americas’ paper-weight chart puts everyday 20 lb copy paper at 75 gsm, so the laminated 250gsm Azude sheets weigh over three times as much per square meter. Curl those in two or three slow passes.
3. Roll into a cone
Bring the tab edge to the slot edge and slide the overlap until the tip is pointed. Stand the cone on the table: if it leans, the overlap is uneven, so adjust before locking.
4. Lock the tab
Insert the tab into the slot from the inside and press the seam flat from base to tip. Don’t force a tab that catches; if one tears, clear tape inside the seam holds just as well.
5. Secure the seam
Glue dots are a pressure-sensitive adhesive, and TWI, the UK engineering research organization, explains that this type does not cure; it needs pressure after application to bond well. Press each dot firmly for about 5 seconds instead of waiting for it to dry.
6. Reinforce the strap holes
Strap holes tear first once a child tugs. Cover each hole with clear tape on the inside and re-open it with a pencil tip.
7. Fit the elastic
Thread the elastic from the outside in and double-knot it inside, leaving the strap a little long. Lengths vary: the Olen straps are 15.7 in (40 cm), and the Boieo gold set’s 30 cm (11.8 in) elastic is described with a T-shaped buckle instead of a knot. For fitting a strap to a child, see how to keep party hats on kids.
8. Add the pom pom
Fluff the pom pom, put a glue dot on the tip, center the pom pom on it and press so the fibers grip.
9. Check and stand
Stand the hat on the tray and check that the seam is closed, both knots hold and the pom pom stays put when tapped.
Can you buy preassembled party hats?
Yes, as minis: the Vesil 12-pack of pre-shaped 5 in (13 cm) cones arrives with strings attached, while every full-size set in the table above ships flat. All six full-size sets, 7.87–8.4 in (20–21 cm) tall, need assembly.
Why paper party hats ship flat
A flat sheet survives a shipping box; a hollow paper cone may not. The Boieo gold party hats ship flat to help prevent crushing, per their product details, and the Inxens mini set ships flat so the cones arrive without creases. For scale, a flat Boieo Silver Party Hats sheet measures 14.2 x 8.1 in (36 x 20.5 cm) and becomes a cone 7.87 in (20 cm) tall on a 5.5 in (14 cm) base.
What the preassembled minis still need
The pre-assembled mini beaver party hats arrive shaped with strings attached; you press 12 brown pom poms onto the 12 included glue dots. At about 5 in (13 cm) tall with a 13.77 in (35 cm) string, they give children a topper look and fit plush toys, but they are not full-size adult headwear.
Should you look for preassembled? A decision rule
- Plush toys, dolls, a cake table or toddler photos, no time to spare: the preassembled minis, about 5 minutes for all 12 pom poms (our estimate).
- Adults will wear them: plan to assemble, since every full-size paper cone in our range ships flat; a set without pom poms has fewer steps.
- Less than an hour free on party day: build the evening before.
- More than 20 hats: use the three-station assembly line below.
Time it out: estimates for 12 and 16 hats
These planning estimates assume an adult who has built a hat or two; add about 5 minutes for the first one.
| Kit type | Per hat | 12 hats, one person | 12 hats, three people |
|---|---|---|---|
| Cone with glue dot and pom pom | About 3 min | About 36 min (30–45) | About 15 min |
| Cone without pom pom | About 2 min | About 24 min | About 10 min |
| Preassembled mini | About 30 sec | About 6 min | Not needed |
Worked example: 14 guests plus 2 spares is 16 hats. With a pom pom kit that is 16 x 3 = about 48 minutes alone or about 20 minutes with three people; without pom poms, about 32 minutes alone. To size the spares, see how many party hats you need.
Common mistakes and how to fix them
None of the 6 problems below ruins the sheet; a re-roll, a strip of clear tape, a spare glue dot or a new knot fixes each one.
| Problem | Cause | Fix |
|---|---|---|
| Crease in the cone | Rolled without pre-curling | Ease it out from inside; pre-curl the rest |
| Hat leans | Uneven overlap | Unlock, re-roll with the base level, re-lock |
| Tab pops out | Cardstock springing back | Glue dot or tape inside the seam |
| Pom pom falls off | Dot not pressed hard enough | Fluff, re-press, or add a second dot |
| Elastic slips through | Knot smaller than the hole | Triple knot; tape the hole and re-pierce |
| Strap too short for an adult | Short default length | Tie on an extension piece inside the hat |
Building a batch: an assembly line
For 12 or more hats, give each of three people one station (cones, elastic, pom poms) instead of having everyone build whole hats. Repeating one motion is quicker and the hats come out more alike.
Kids can decorate flat sheets or write guests’ names inside the base before rolling. Keep pom poms, glue dots and strings with an adult: the U.S. Consumer Product Safety Commission’s small-parts test uses a cylinder sized to approximate the throat of a child under 3, so treat loose pom poms and peeled glue dots as small pieces and keep them off the floor around toddlers.
Mini hats: same steps, smaller scale
Mini cones about 4.7–5.3 in (12–13.5 cm) tall follow the same nine steps, but curl them around a marker instead of a rolling pin. Press the pom pom down with a pencil eraser, since a fingertip covers most of the tip. The Inxens mini birthday hats (4.7 in) and the Vesil DIY beaver mini hats (about 5.1 in) both ship flat. For heights side by side, see the party hat sizes guide.
How to make party hats out of construction paper
Cut a wedge from a circle: a 6 in tall hat with a 5 in base needs a 6.5 in (16.5 cm) radius and a 138° wedge.
The same math works for any size. The template radius is the cone’s slanted side, the square root of height² + (base ÷ 2)², and the wedge angle is 360 × (base ÷ 2) ÷ radius. Add a 1/2 in (1.3 cm) glue tab along one straight edge; a flat-pack kit sheet is this same shape with a printed tab and slot.
| Finished hat (height x base) | Template radius | Wedge angle | Smallest sheet that fits |
|---|---|---|---|
| 4.7 x 3.5 in (12 x 9 cm), mini | 5 in (12.7 cm) | 126° | 8.5 x 11 in |
| 6 x 5 in (15 x 13 cm) | 6.5 in (16.5 cm) | 138° | 8.5 x 11 in |
| 7 x 5 in (18 x 13 cm) | 7.4 in (18.9 cm) | 121° | 8.5 x 11 in |
| 7.9 x 5 in (20 x 13 cm) | 8.3 in (21 cm) | 109° | 9 x 12 in |
| 7.9 x 5.5 in (20 x 14 cm), full size | 8.3 in (21.2 cm) | 119° | 11 x 17 or 12 x 18 in |
These figures are our own cone geometry with the tab included; the tighter fits need the template laid at an angle. The jump in the last row is why a full-size cone does not come out of a 9 x 12 in sheet.
- Tie a string to a pencil, pin the other end at the template radius and draw the arc.
- Mark the angle with a protractor, or measure the arc instead: base x 3.14, so a 5 in base needs 15.7 in (40 cm) of arc.
- Cut out the wedge and tab, pre-curl, roll and glue or tape the tab inside.
- Punch strap holes about 1/2 in (1.3 cm) above the rim on opposite sides, tape them and tie the elastic as in steps 6 and 7.
Roll the cone rather than folding it: a hard fold leaves a straight line down the side and makes the hat lean. If thin paper dents, glue two sheets back to back before cutting, or switch to cardstock.
When to assemble and how to store finished hats
Assemble the hats the evening before the party and stand them upright on a tray, because a pom pom crushes under a stacked cone. On party day, start at least an hour before guests arrive.
Cones without pom poms can nest loosely if space is tight; don’t press them together, or the inside tab can catch. Keep finished hats away from steamy kitchens and damp garages, since moisture softens paper. Unused sheets go back in the bag and lie flat in a drawer, as the Beurio pastel set’s product details also advise.
Step by step
- Sort into hat kits
Make one stack per hat with its sheet, pom pom, strap and glue dot so a short count shows up before you start.
- Pre-curl the sheet
Roll the sheet loosely around a rolling pin or tube, printed side out, then release so it holds a gentle curve; curl heavy 250gsm stock in two or three slow passes.
- Roll into a cone
Bring the tab edge to the slot edge and adjust the overlap until the tip is pointed and the cone stands level.
- Lock the tab
Insert the tab into the slot from the inside and press the seam flat from base to tip without forcing it.
- Secure the seam
Press a glue dot or a strip of clear tape inside the overlap, holding a glue dot firmly for about 5 seconds.
- Reinforce the strap holes
Cover each hole with clear tape on the inside and re-open it with a pencil tip.
- Fit the elastic
Thread from outside to inside and double-knot each end, leaving the strap slightly long for adjusting later.
- Add the pom pom
Fluff the pom pom, place it on a glue dot at the tip and press firmly.
- Check and stand
Check the seam, knots and pom pom, then stand hats upright on a tray without stacking them.
Frequently asked questions
How long does it take to assemble party hats?
Allow about 5 minutes for the first hat while you learn the tab and overlap. After that, plan on about 3 minutes a hat with a pom pom and about 2 minutes without, or 30–45 minutes for a 12-pack. These are estimates; three people working as an assembly line cut the time to under half.
Can I buy preassembled party hats?
In the INXENS range, only as minis. The Vesil 12-pack of pre-assembled mini hats, about 5 in (13 cm) tall, arrives with cones shaped and strings attached, and you press a pom pom onto each tip. All six full-size paper cone sets, 7.87–8.4 in (20–21 cm) tall, ship flat and need assembly.
Why do paper party hats come flat?
A flat sheet survives shipping, while a hollow paper cone can be crushed or creased in the box, and a crushed tip cannot be smoothed out. Flat sheets also take far less space, so leftovers store in a drawer until the next party.
Do I need glue to put paper party hats together?
Usually not. Most kits lock with a tab and slot, and pom pom kits include glue dots for the seam or tip. Clear tape is a useful backup for a seam that springs open or a tab that tears.
Do party hats come with the elastic already attached?
Only the preassembled mini set has its strings attached. Flat kits include elastic that you thread through the holes and knot inside the cone; the Boieo gold 12-pack's 30 cm (11.8 in) elastic is described with a T-shaped buckle instead of a knot.
Can kids assemble their own party hats?
Kids can decorate the flat sheets and help roll cones with an adult. Keep glue dots, pom poms and strings with an adult, since they are small loose pieces, and supervise younger children throughout.
How far ahead can I assemble party hats?
The evening before is the easiest timing. Assembled cones take up space and pom poms crush if stacked, so stand finished hats upright on a tray somewhere dry until the party.
What if the glue dot won't hold the pom pom?
Fluff the pom pom so more fibers touch the adhesive and press harder, since glue dots bond with pressure rather than by drying. If it still slips, add a second glue dot or a small dab of craft glue and let it dry.
Can you fold a party hat instead of rolling it?
A cone party hat needs a smooth curve, so curl and roll it; a creased fold shows as a straight line and pulls the tip off center. For a no-glue hat, the folded newspaper-style hat made from a rectangle is a different shape: it sits on the head like a paper boat rather than rising to a point.
What are easy party hat decoration ideas for birthdays or Christmas?
Decorate while the sheet is flat: names, the birthday age, stickers and marker patterns go on far more neatly than on a curved cone. For Christmas, a red cone with a white pom pom and a white felt band around the rim reads as a mini Santa hat. Keep glitter, loose sequins and spare pom poms away from children under 3.